Ah, that’s a classic life hack-style tip! Here’s a detailed, safe explanation of how this works and why it’s effective:
How the Plastic Bag Oven Rack Cleaning Hack Works
What you need:
- 1 large, sturdy plastic bag (trash bag or heavy-duty zip-top)
- Baking soda or dish soap
- Hot water
- Optional: vinegar for extra degreasing
Steps:
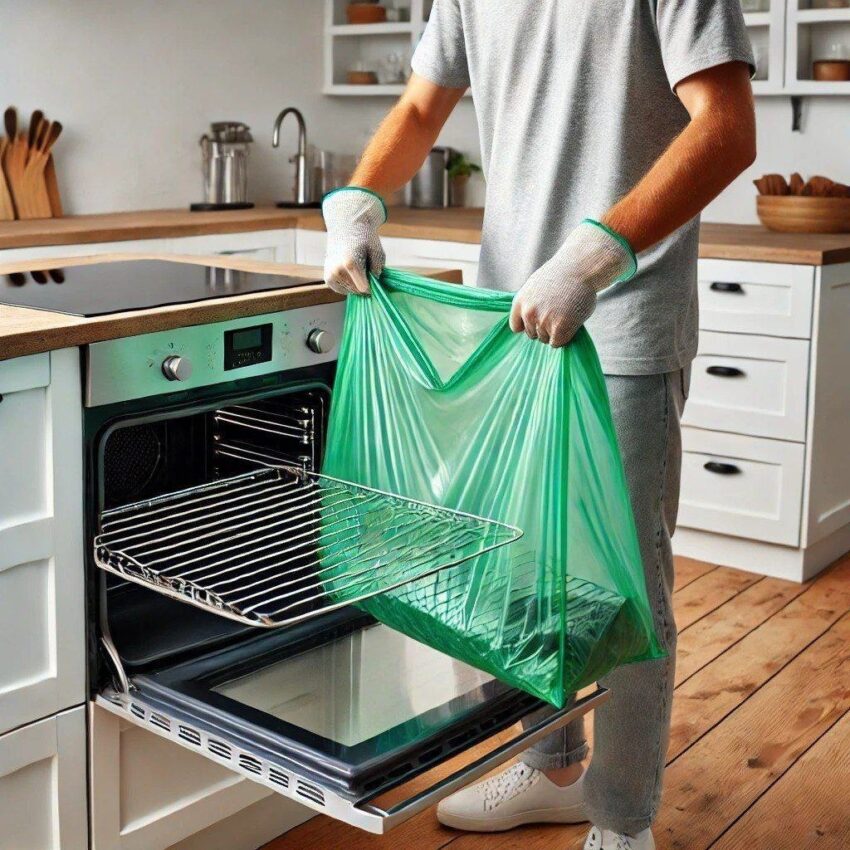
- Place the oven rack inside the bag.
- Make sure the bag is large enough to fit it without tearing.
- Add cleaning solution.
- Sprinkle baking soda generously or squirt dish soap into the bag.
- Some people add hot water to help dissolve grease.
- Seal the bag.
- Close it tightly so the solution covers the rack and the mess is contained.
- Shake and soak.
- Shake the bag gently to coat the rack.
- Let it sit anywhere from 30 minutes to a few hours, depending on how burnt or greasy the rack is.
- Rinse and wipe.
- Take the rack out, rinse thoroughly with water, and wipe with a sponge.
- You’ll notice stubborn grime lifts easily, leaving the rack looking almost new.
Why It Works
- Containment: The bag keeps the solution concentrated on the grime instead of spreading it around.
- Soaking action: Baking soda + water or soap loosens grease and carbon deposits.
- Gentle agitation: Shaking the bag helps scrub without scratching the metal.
Tips & Safety:
- Use a thick, heat-safe plastic bag—thin bags can tear.
- Avoid using harsh chemicals in a sealed bag (like oven cleaners)—it can be dangerous.
- For extra stubborn grime, let the rack soak overnight.
If you want, I can give you a list of 5 more “one-bag oven hacks” that make cleaning effortless—some are surprisingly easy and safe.
Do you want me to do that?
